A Bag Mod or Two
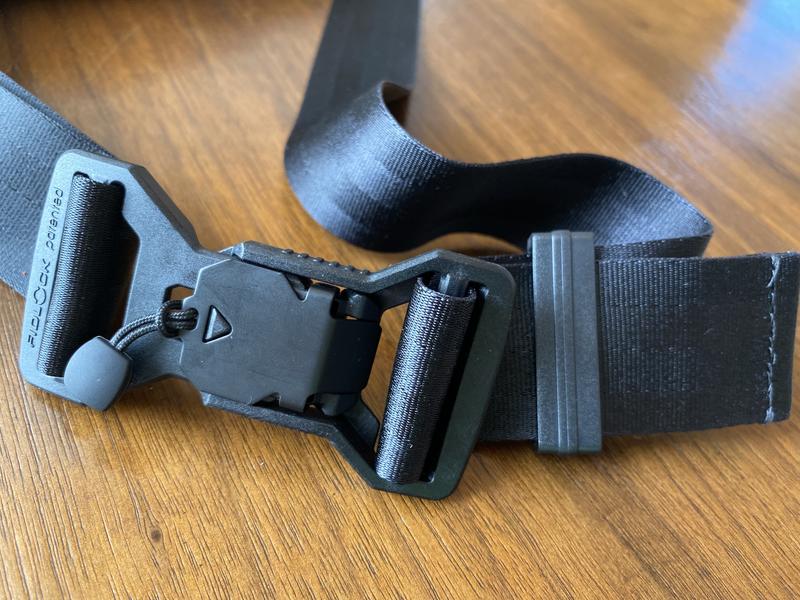
Personalization isn’t really my thing most of the time. I don’t prefer to litter my laptop with numerous stickers pilfered from events and conferences or adorning my bags with pins. But give me a practical, functional modification, perhaps with some possibility of reversal, and I’m listening with rapt attention.
I started with the Chrome Vale Sling I reviewed here. Chrome addressed its key weakness in the second version by eliminating the strap buckle entirely. In part because the female side of the buckle is all-metal and the male side is plastic, it doesn’t take much strength to undo the buckle inadvertently. If your bag contains your laptop and other, heavier valuables, this can lead to a surprise scramble to catch your bag before it hits the pavement.
I wondered if it would be possible to retrofit some of the nicer-looking buckles I’d seen onto my bags. This seemed somewhat easy on the male side of the buckle, as it merely required undoing the small retainer loop that had a reinforced stitch. However, on the female side, the loop holding the buckle was attached to the shoulder strap with some quite serious reinforced stitching. Still, I decided to see if I could find anyone that might do such work.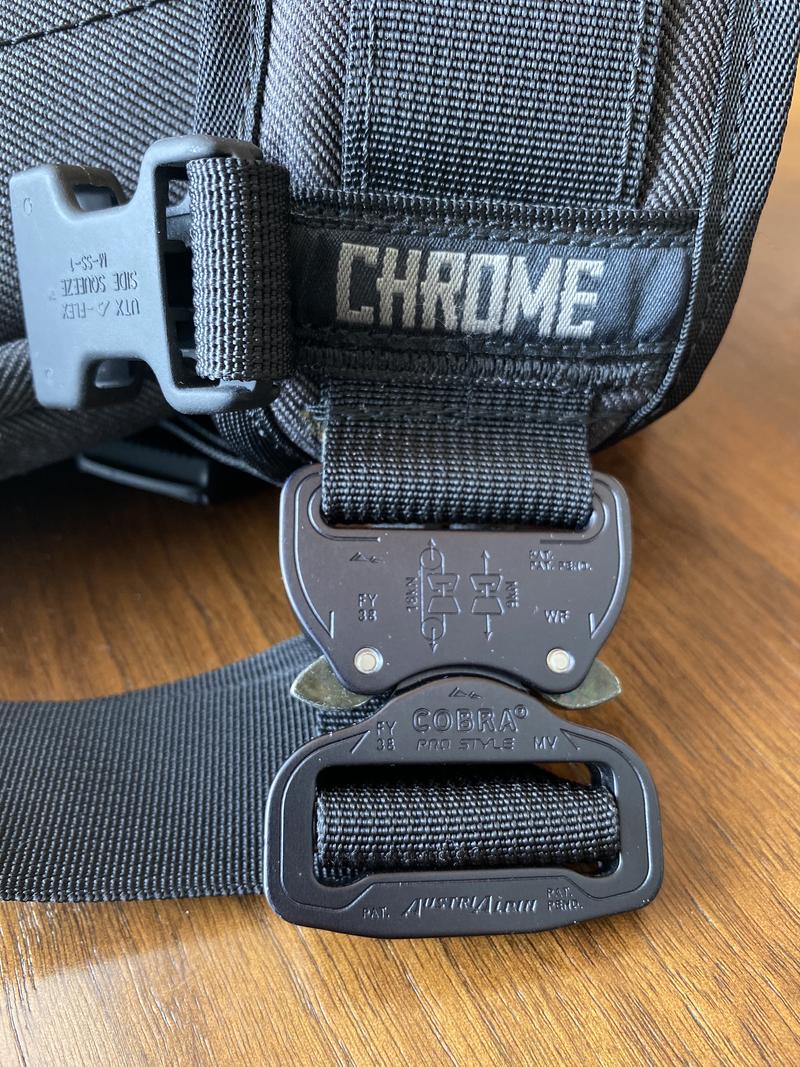
I settled on Austrialpin Cobra buckles. They’re quite clearly overkill, able to withstand thousands of Newtons of force before breaking, as well as resistence to opening if one side is accidentally unlatched. You’ve probably seen these used in all sorts of military-style costumes and superhero outfits, like the ones used by Killmonger, Black Widow, and Dredd.
Some on the internet suggested seeking out cobblers, as they tended to work with heavier pieces, including luggage, and would have the necessary experience and heavy-duty sewing machines necessary to do the work. The buckle itself could be ordered directly from the manufacturer for a reasonable price, though with some shipping cost. There are a variety of options, but the three primary concerns are the width of the strap to which the buckle is being retrofitted, if the adjustable version is necessary to hold the buckle steady on a loop, or if a simple loop will suffice. In this case, the female end is a simple loop, while the male end does use the adjustable version.
The price of the work wasn’t too unreasonable at around $40. I explained what I wanted to have done and explicitly pointed out that I’d prefer the stitch be undone, even if it cost more. The employee said she thought she could do it and told me I’d get a call when it was ready.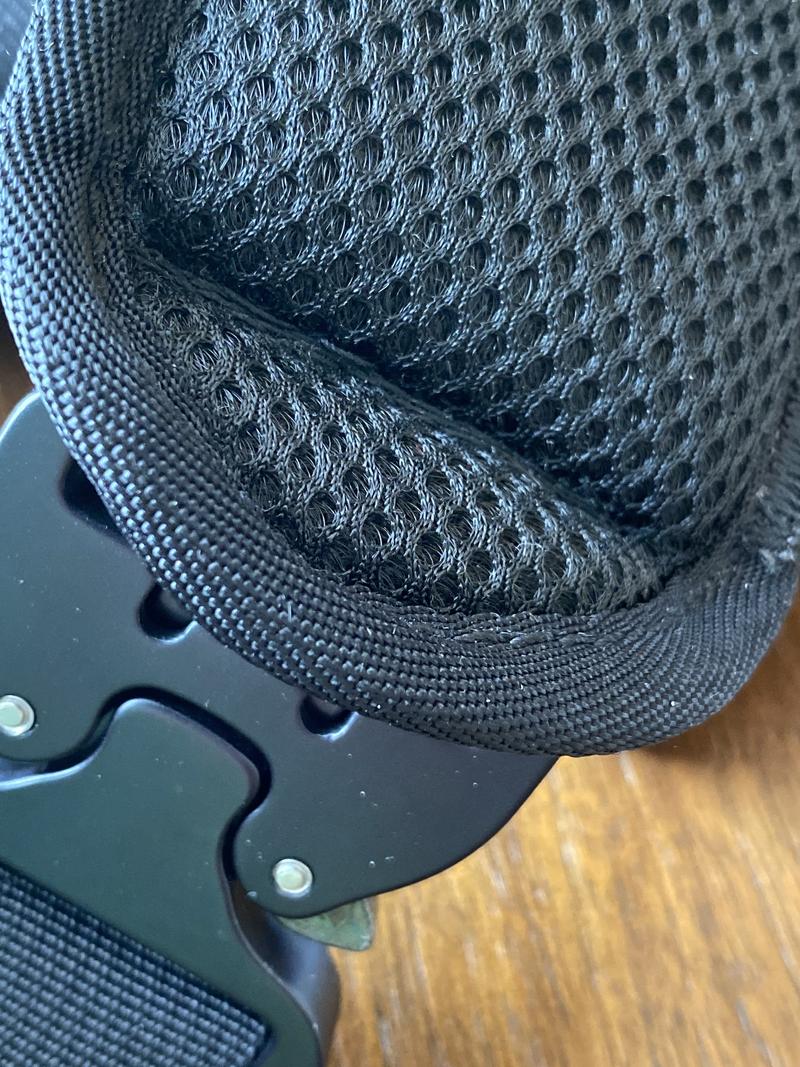
The work on the strap side was pretty straightforward and competently done. However, in the attempt to avoid undoing the stitching on the female side, instead she appears to have cut the loop as close to the stitch as possible, applied some strong glue, and stitched a simple line right through the strap and the underlying pad. I strongly would have preferred she take it apart instead. The female side of the buckle is a bit tight given the reduction in material, and the strap pad is indented where the stitch was done directly through it. Initially I wasn’t too happy about this, but as it broke in, the female side sat better in the loop and the pinched strap pad didn’t dig into my shoulder as it had initially. In other circumstances I might have had them redo the work, but it has held up for now. Also, seeing as they’d already ruined the piece, I’m not sure what they could have done short of replacing the bag, which seemed a bridge too far. Moral of the story: be explicit about what you want, even if the professional takes offense (and she did seem to take a bit of offense at my specifications), and simply walk away if they can’t guarantee what you want.
All that said, the Austrialpin buckle suits the bag really well, and, given its obscenely high strength rating, unsurprisingly never comes lose and snaps together with a confident click. It really improves the functionality of the bag, and its not a bad way to go if you prefer a unique look and don’t want to go for the V2.
I wanted a smaller sling than the Chrome to hold what customarily fills my pockets, but I didn’t want to spend all that much. I had tried to order an Aer Day Sling on sale from an online store, but unfortunately their inventory system was incorrect and they weren’t able to ship one after a couple weeks of waiting. Then someone mentioned a smaller bag designer called The Brown Buffalo on /r/onebag, so I decided to take a look.
Their design and materials were quite familiar, featuring YKK zippers and different weights of nylon fabric, but their prices were not unreasonable for the industry. In their sale section, I found a few of their older Beyondsling going for $12.99, and I thought I could afford to give that a try. I’ll have to do a review of that one later, but for now, a couple of mods.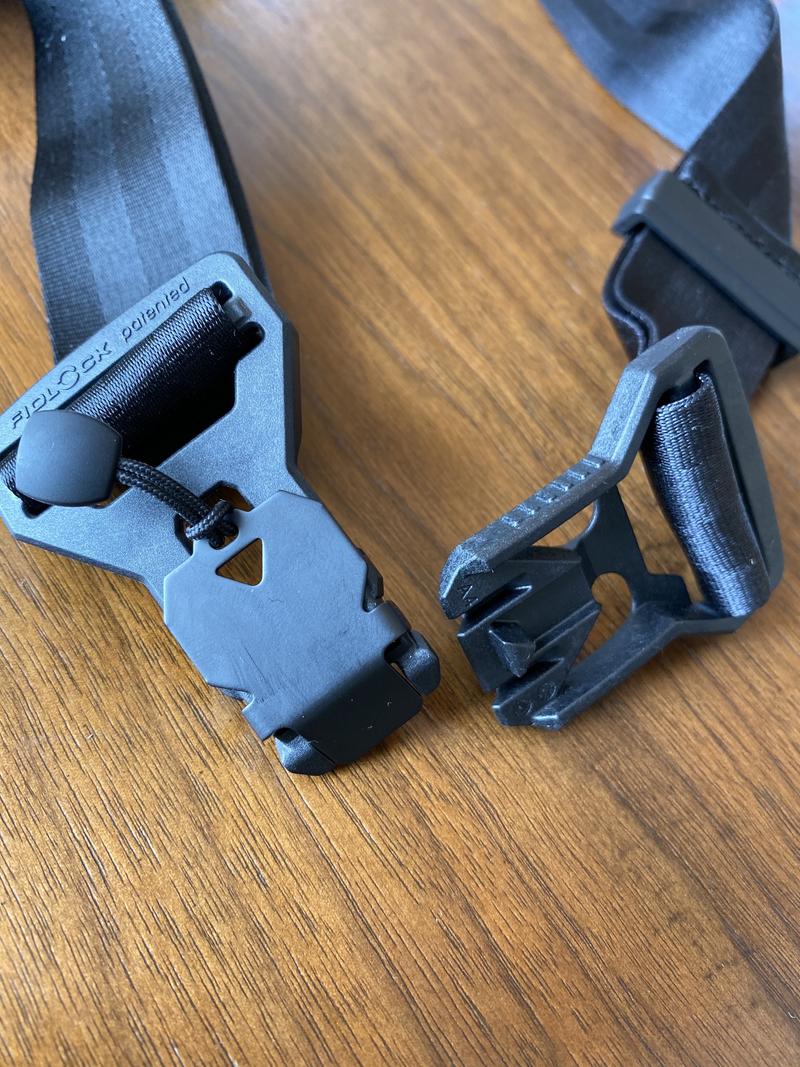
For starters, the buckle is a standard plastic affair: light and decently robust. The nice thing about this model is that both sides of the strap have a simple terminating loop which I could cut and redo easily by hand. Having tried Austrialpin before, I wanted to give Fidlock’s magnetic buckles a try. Some brands had used their smaller 25mm slider buckles for closing top flaps, but I wanted their larger 40mm buckle as the main buckle for this bag. The installation was straightforward: cut the stitches holding the retainer loops together, remove the old buckle, thread in the new one, and close up the retainer loops with a simple back stitch. It would look like it came from the factory, were it not for my slightly wandering stitch line.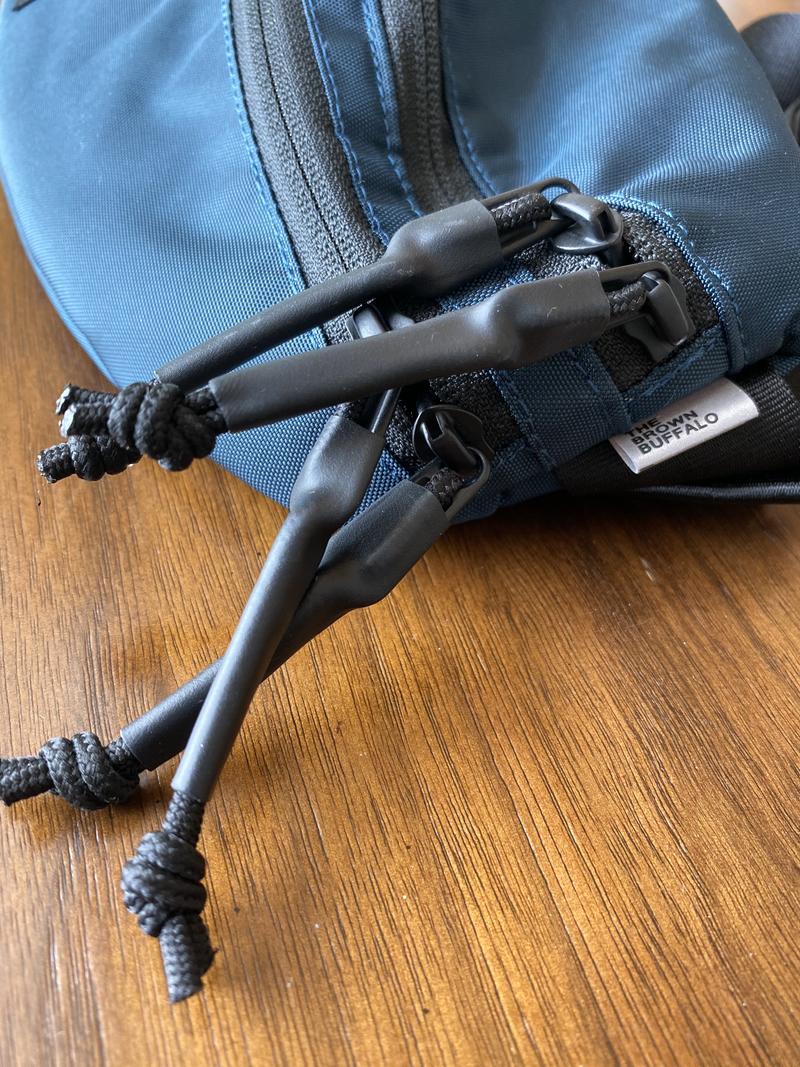
A feature I like from my Goruck bags that I wanted to transfer over to my other bags are their zipper pulls. They use paracord with the nylon core removed and reinforced using simple shrink tubing I’ve used countless times for electronics projects for insulating wires. The sling already had cords that were used to extend the zipper pulls. While I initially considered following the Goruck method detailed here on YouTube, I decided to simply cover the current pulls more like what Chrome had done on their zipper pulls. If I didn’t end up liking it, I could always revert to the Goruck method.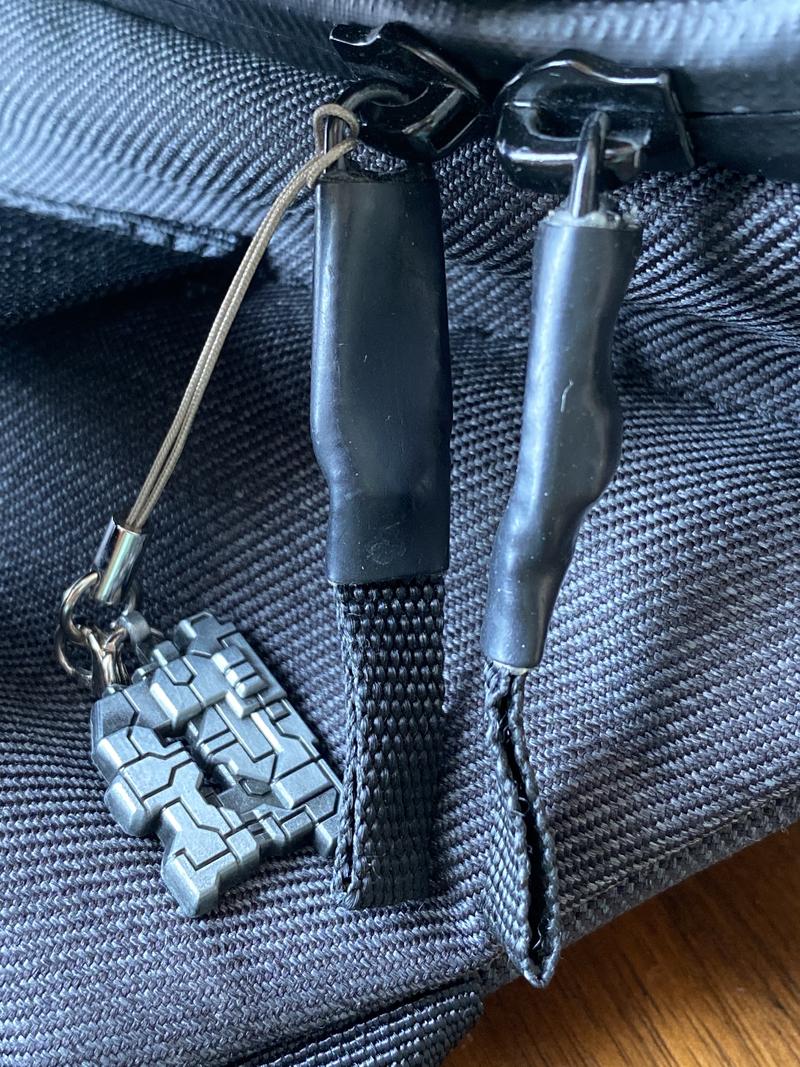
This too was quite straightforward. I used 3/8” shrink tubing, cut in half from the 4” lengths that came in the box. I did this in part because I didn’t have much left, but if you’re working from a reel of tubing, you can cut them to whatever length you feel is appropriate. After a bit of work with a strong hairdryer (a heat gun is preferable, but take care to not melt anything) and a short cooling off period, they came out looking stellar, if a bit long. I think if that bothers me in the long term, I’ll do shorter pulls with Goruck’s method. The pulls are nicely improved, providing a nice straight handle to zip and unzip the sling.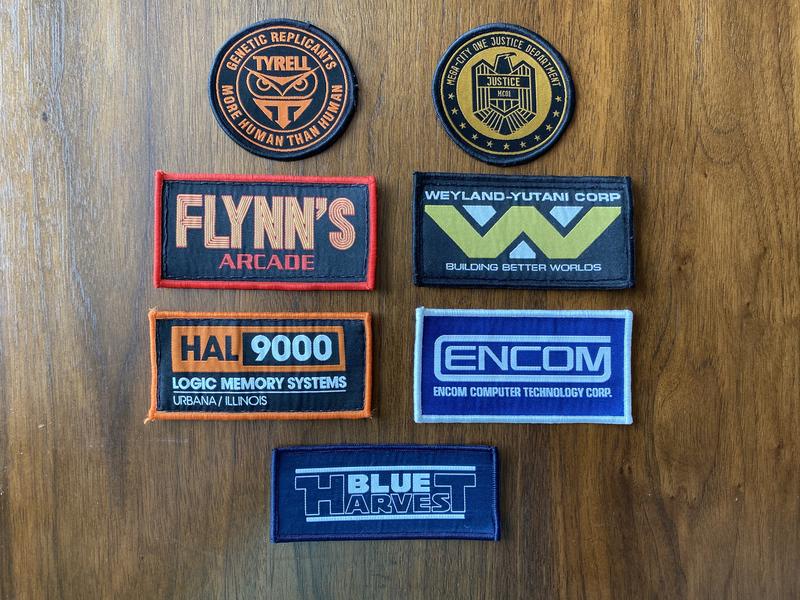
The last mod I’ll talk about regards my Gorucks. Gorucks provide a 3”x2” velcro pad on their bags for their patches, though it seems a standard size for lots of patches, especially flag patches. I’ve been looking around for some fun ones, and I found a company in the UK that has a bunch of patches designed in reference to movies such as 2001, Alien, and others. My favorite one of these is Blue Harvest, the fake codename for Return of the Jedi created so press and fans might hopefully be fooled and not hound the production, at least for a time. All sorts of hats, jackets, slates, and other movie gear were made with the Blue Harvest logos, some featuring the film’s fake tagline “Horror beyond imagination.”
The patches come in two flavors: glue-backed and plain-backed. I ordered the plain ones, as I intended to sew on velcro strips. This, again, is quite straightforward, using a backstitch to sew around the perimeter while using a safety pin to hold the two pieces together so they don’t move apart. It looks pretty good by the end of it, and allows me to swap them out when I’d like.
Happy modding!